Sure, after graduation from your online makeup artist classes you’ll have the technical skills for success. You may even have great quality products that’ll translate to the most epic looks. But beyond that, you’ll also need a good work station to practice your craft. What makes for a good makeup station anyway? For one, you’ll want one with plenty of light so you can you see details well and be functional so you can easily reach everything you need. Whether you’re setting up a home studio or building a traveling studio kit to work anywhere, you’ll need a few essentials.
Here are nine must-haves for every home and traveling makeup studio!

1. Good lighting
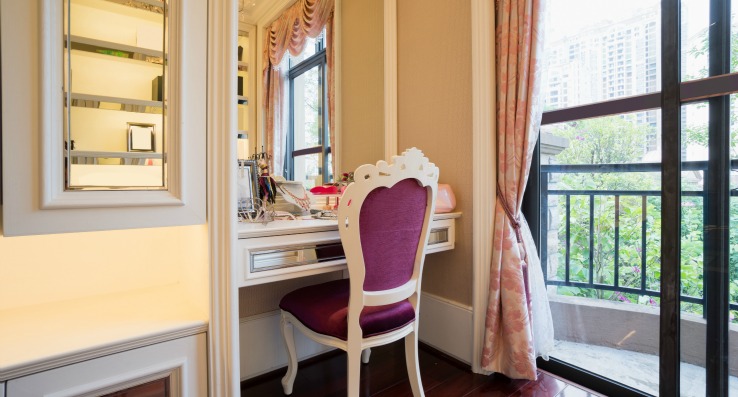
Look around your designated makeup application area and choose a spot that receives the most light. Natural light is best, so set up near a window if possible. If there’s no window, or the space nearby the window is too small and dim, look for an area with the best artificial lighting. You need to see the details of your client’s face and your work! Avoid places where the light casts shadows or where you can’t see well enough to blend properly.
2. Extra, portable lighting
Adjustable lights are useful in case you’re stuck in a space with no good lighting of its own. Choose a light that has a bright, white bulb so your client’s face won’t appear yellow. Don’t make it harder for yourself to color match! Lights that can adjust to different angles are the most helpful, especially if your studio is temporary.3. A mirror
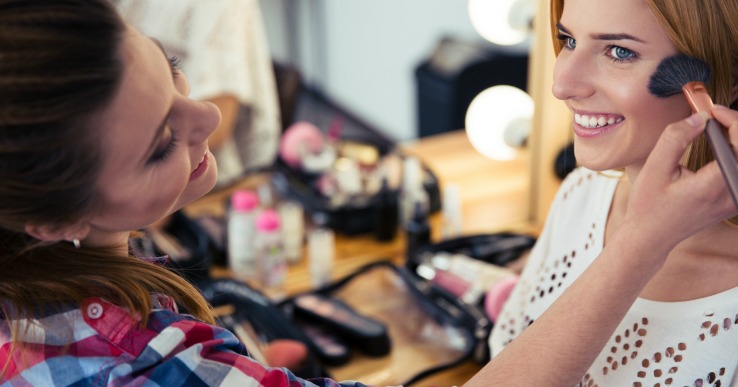
In a home studio, including a mirror seems obvious. Less obvious is the kind of mirror that works best for your space. If you’ve got the budget and space for a permanent set up, lit vanity mirrors are great options. For a small makeup station near a bright window, consider a self-lit, free standing, adjustable makeup mirror. These are usually portable, so they’re also great for traveling. If you’re doing a client’s makeup rather than your own, you’ll need a mirror to see how the makeup looks in 2D. Pictures and videos are 2D images, so you need to create looks that are flattering in 2D photos and the 3D perspective of the human eye. A mirror will also allow your client to see your work as you’re applying their makeup, which will make them feel much more comfortable with the process.4. A table
You’ll need a table large enough to lay out all your supplies in an organized fashion. In your home studio, it should be low enough that you can sit to do your own makeup, but high enough to reach while you stand to do your clients’. When you travel, your options might be limited. Make do with what’s available unless you have the budget for a portable folding table and the means to get it there with your kit.
5. A chair or stool
If your studio is for personal use, choose a chair that is a good height for your table. You need to see into your mirror well and reach everything you need. If you’ll work with clients in this studio, consider a higher chair that lets you reach the client’s face without hunching over. Adjustable chairs that raise and lower (and swivel!) are great for permanent studios. For travel, you might have to use whatever chairs are available. Some makeup artists who travel frequently and have cars invest in tall, portable chairs that fold up.6. A sink
Makeup gets messy. Setting up near a sink allows you to keep everything clean or use water-activated products without going to another room. While a sink isn’t absolutely necessary to your application process, it stops you from wasting time trying to find water if you suddenly need it. You should always wash your hands before and after an appointment. Cross-contamination is no joke!7. Product organization
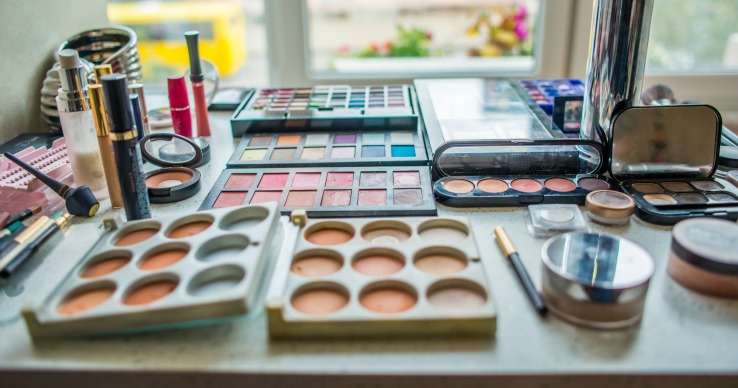
No matter where you set up, keep your products and tools organized. It looks more professional and lets you find things quickly and easily. In your home studio, use containers to keep your brushes, sponges, and cosmetics sorted. While traveling, organize your products and tools in your kit beforehand. Invest in a brush roll to keep brushes organized and contained, and sort cosmetics in small zippered bags. When you set up, you’ll know exactly where things are and can lay them out for easy access while you work.
8. Cleaning materials
No matter where you set up, bring everything you need to keep the area clean and tidy. In your travel kit, include paper towels, an actual towel, hand sanitizer, cotton swabs, cotton balls, moist wipes and an all-purpose cleaner. At your home studio, store these supplies nearby so you can reach them in case of spills. Having everything you need for a clean, hygienic workspace sets clients at ease and looks professional.9. Electricity
Nothing is worse than finding the perfect lamp and then realizing there are no outlets nearby. You might not think you need electricity for makeup if good lighting is already there, but leaving yourself without the option is a mistake. Natural lighting fades and changes. Whether you’re at home or traveling, bring a good extension cord or power bar so you can set up wherever you need and still have access to electricity.Make it easy for yourself!
Think about your space and your needs during each makeup application. No matter where your makeup studio is located, ensure you have everything you could possibly need while still remaining organized! Building a well-stocked, prepared studio saves time and lets you concentrate on the makeup.

Tnkx for this,its really helpful.
Nice Post! Great helpful post.
Hi Pooja,
Thanks so much for taking the time to read this article and for leaving such a nice comment. We really appreciate it and are glad you found these tips so useful. <3
All the best,
The QC Team
Very much for this, it’s truly helped me.
And I want to know more about how to start my own business with a small capital
Hi Aondofa, thanks so much for taking the time to comment (and we apologize for the delayed reply)! We’re very happy to hear that you found this article helpful. 🙂 In terms of wanting to know more about how to start your own business with a small capital, this blog article by Forbes may help a little: https://www.forbes.com/sites/quora/2017/06/12/how-can-i-start-a-business-with-very-little-capital/ 🙂
All the best,
The QC Team
Greatly helpful
We’re so glad to hear that, Evelyn, thank you so much for taking the time to read and for leaving such a nice comment! 🙂
All the best,
The QC Team
thank you so much! this was insightful!
Hi Anthonia, thanks so much for the kind words! We apologize for the delayed response. It means a lot to us that you took the time to read this article, and we’re happy to hear that you found the information within it to be useful. x
All the best,
The QC Team
Thank you very much.This was very helpful.I now have an idea for my makeup studio.
Wow, thanks for putting this together for i sonia in person, i would like to specially say thank you
I find this really helpful.
Thanks