Miranda Kerr is one of Australia’s most iconic supermodels and known world-wide. She likes to sport soft, dewy looks, so it’s obvious why she’s one of our makeup-icons as well!
Watch as QC Makeup Academy tutor, Azzi Williams, takes you through a complete Miranda Kerr inspired look. From prepping and priming the skin to customized plump lips, follow along to get the look yourself, or get inspired for your next client who wants to look like the beautiful Miranda!
Here’s a summary of the complete application:
Prepping and priming: Apply a small amount of product using a flat foundation brush, concentrating on the areas that need moisture the most. Then, use a sponge to massage it gently into the skin. Azzi is using Embryolisse Lait-Crème Concentré, which is widely used on catwalks across Europe. Perfect for a Miranda Kerr inspired look!
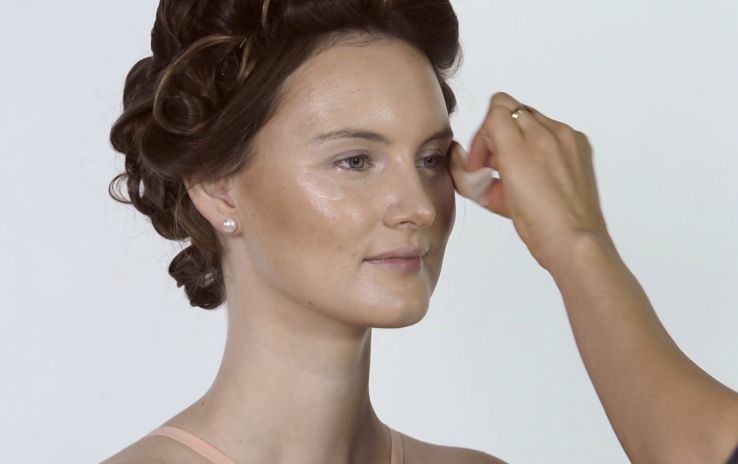
Foundation: For a natural, glowing look, Azzi is using Make Up For Event HD Foundation. Taking the product from the back of your sanitized hand or palette, use a flat foundation brush to apply it to the skin. Next, use a sponge to gently blend it in.

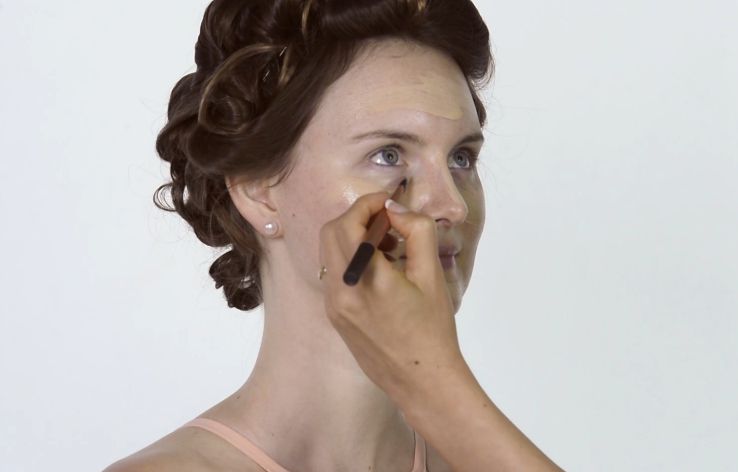
Concealer: To achieve Miranda’s dewy look, Azzi uses a concealer with a creamy formulation. Use a small flat concealer brush to apply the product under the eyes. Azzi is using Eve Pearl’s Salmon Concealer to counteract any blue areas.
Contouring: Apply a contouring product in the areas on the face where you want to create more dimension. This is usually the cheekbone, nose, and forehead areas. For this look, Azzi is using the Tom Ford Contouring Kit which is widely used in film and photoshoots, and blends it with a buffer brush in circular motions.
Highlighting: To add extra glow and radiance, Azzi mixes MAC’s Strobe Cream with MAC Vanilla Pigment and uses a flat concealer brush to apply it to the areas on the face that we want to stand out. Concentrating on the top of the cheekbone, extend the product into a “3” shape along the brow. Also apply it to the bridge of the nose and areas around the mouth. Afterwards, use a sponge to work it into the skin.

Blush: Azzi uses Stila’s cream blush in Petunia for a fresh finish, applying it to the apples of the cheek to achieve Miranda’s glow.
Setting powder: Use a translucent powder to set the look. For this look, Azzi uses the WilliamsPro Zero powder and lightly buffs it over the skin.
Brows: Fill in the brows with brow powder (Benefit) and a flat blush (Haut). Use a spoolie to blend the brow powder, which also stimulates growth to keep your brows healthy!
And now moving onto the eyes…
Base: To create a creamy base, Azzi uses MAC Painterly Paint Pot, Stila Lotus Rouge Pot, and Haut White Brightener. Apply the brightener on the brow bone for extra lift, prime the lid using MAC Painterly Paint Pot, then apply the Stila Rouge Pot to the lid in a V-shape. Blend it in with a clean, fluffy brush in a forward and backward motion.

Crease: Azzi is using Maybelline’s Color Tattoo in Immortal Charcoal and a shimmery shade in the inner corners of the eye. For precision, use a small flat brush to apply the shadow over the lids and blend with a blender brush, keeping everything as close to the crease as possible.
Mascara and eyeliner: Apply mascara to the lashes, working from root to tip. Azzi is using Helen Rubinstein’s Lash Queen Sexy Blacks mascara. For eyeliner, use a combination of dark and light eye pencils to create more depth along the lash bed. Apply the lighter shade to the inner corners of the eye, and use the same pencils in a similar way under the eyes. Azzi is using a gold Stila eye pencil and one by Urban Decay in Roach.
Lips: For lip liner, Azzi is using Make Up For Ever’s Auqua Lip (in 15C). In feathered strokes, work the product along the lip line and then fill the lips. For a plump, glossy pout like Miranda’s, Azzi applies a mixture of Nars lipgloss in 08 and a sheer lipstick by Estée Lauder (in Innocence) over the liner using a small precision brush.

And there you have it! The perfect radiant look inspired by Miranda Kerr. Consider pairing this look with fun, bouncy pin curls to be the ultimate Miranda Kerr look-alike.

This was an awesome demonstration and very informative! Thank you so much for adding these blogs to the course! Great way to learn!