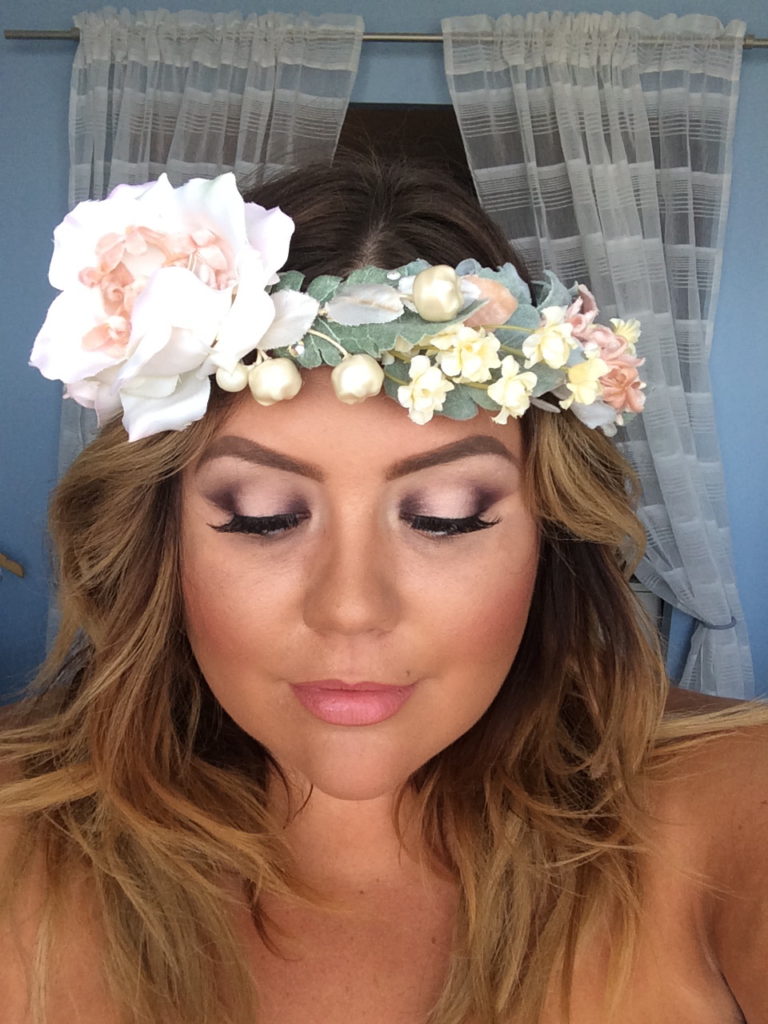
With wedding season upon us I thought I would recreate a bridal look that was posted on the QC Makeup Academy Facebook page.
When creating a bridal look on yourself or on one of your clients, I always recommend using high quality products that you can rely on and have used before. Don’t try something for the first time on a wedding day, it’s just not worth the risk. Now, high quality doesn’t necessarily mean expensive, but in most cases it may. Using products that are highly pigmented and long wearing are essential for a perfect bridal application.

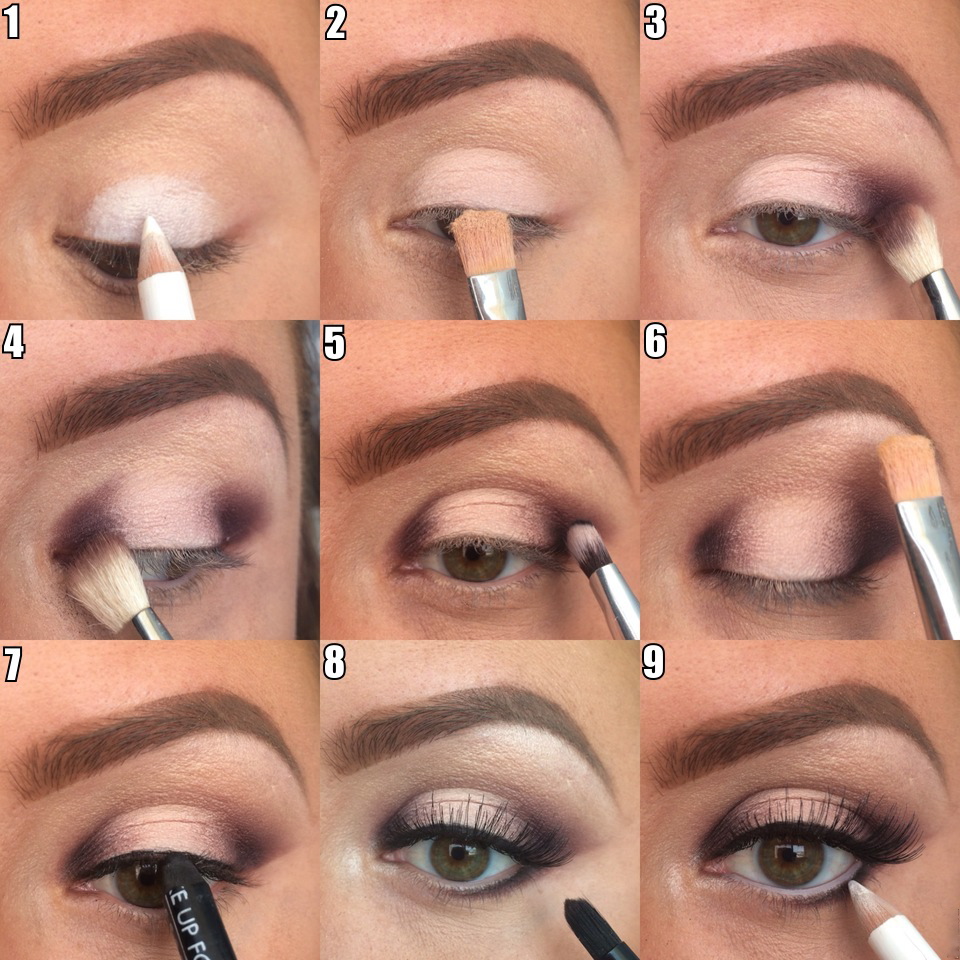
Follow along with me to create this awesome bridal eye look:
View the final look at the bottom!

- Start with a clean primed lid. Use your favorite primer that, one that really holds your shadow and prevents creasing. I used Urban Decay Shadow Primer in Eden. Then, apply a white liner all over the center of the lid. This is going to help the lid shadow we apply really pop.
- Apply a matte cream coloured shadow. I used Blanc Type by MAC with a touch of Yogurt (also by MAC) over top. I use and love lots of MAC shadows because I find they are highly pigmented, reasonably priced, and long lasting.
- Pick up a dark purple shadow on a blending brush and buff it into the outer crease, using very small strokes and being sure to keep the lid still white as not to drag the purple shadow too far over.
- Using the same technique as above, apply the dark purple shadow on the inner corner of the lid, softening and blending using small motions.
- Take a matte black shadow on a small shadow brush and apply it in the very deepest part of the crease on both the inner and outer corner. I used a brush from the QC Academy brush set!
- Apply a brow highlight. I used something with a satin finish because the rest of the look is pretty matte and I wanted to add some dimension.
- Using a waterproof pencil liner (I used Make Up For Ever Aqua Eye’s in 0L), tightline your upper water line/lash line. Ensure the root of the lashes are fully saturated and no skin can be seen. You could apply liquid liner during this step as well but I chose not to as I wanted the shadow work to be the focus.
- Apply a black shadow along the outer edge of the lower lash line and also along the lash band to blacken any glue. Blend it out using the same purple color used on the lid. This adds dimension and ties the look together.
- Apply a white liner along the lower water line. This step is totally optional but I just thought it was a nice touch to brighten up the darker shadow look.
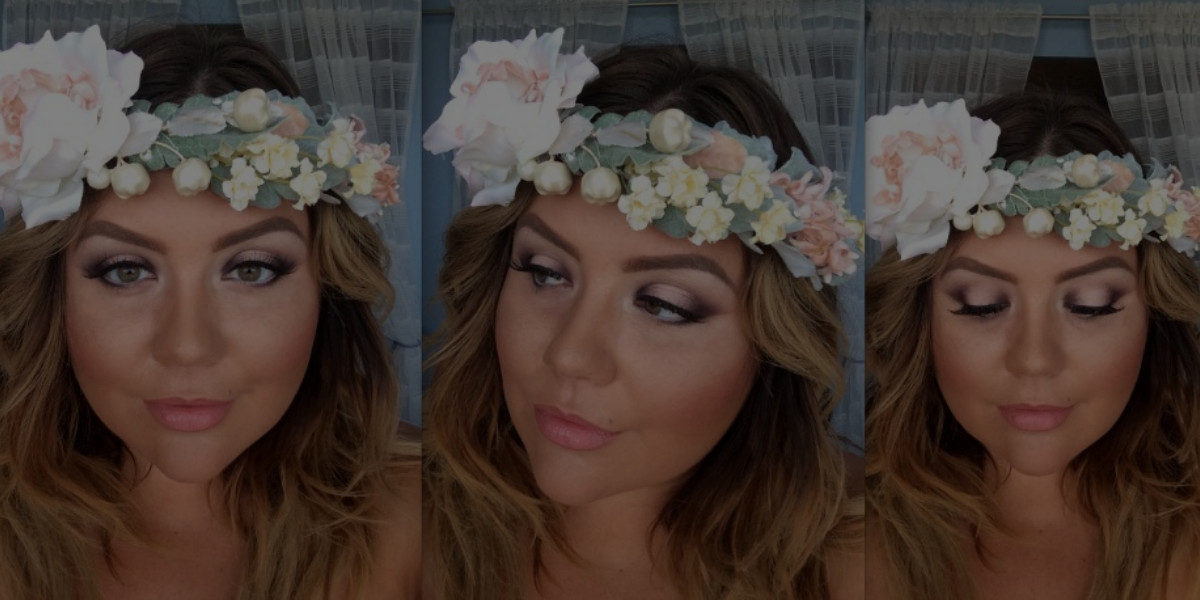
Here is a peak at the finished look:

Since the eyes are totally the focus in this look I kept the lips super natural looking, just an enhancement of my natural lip colour. I tend to do this a lot for bridal looks, making the eyes the focus and lips look soft and kissable. That ever anticipated “you may kiss the bride” line is so important, I usually suggest my brides wear something that their Fiancé wouldn’t be scared to get all over their face for the ceremony. Then, if they want to pump up their look to a bright red or pop of pink after for the reception—I find that’s a great alternative! I lined my lips with Spice Lip Liner from MAC and filled them with Dior Addict Extreme #366 Pink Icon.

do you have videos to watch
Hi Anabel, thanks for your comment!
There is not a video tutorial for this look, but we do have a lot of video tutorial content elsewhere on our blog. 🙂 You can browse our tutorials here.
Awesome blog and its well written to understand it.keep sharing your informative ideas