QC Makeup Academy student, Lucy Benedetti, started her journey into special effects makeup with the SFX course. Based in Australia, Lucy is teaching herself to create her own prosthetics for her special effects designs and networks with film students to gain hands-on experience.
Follow up her last post with more details on how she makes her own prosthetics for her film production company!
 7. The latex I’ve started out with is Ben Nye Liquid Latex and is strong. For bald caps 6-8 layers was plenty strong, but for smaller items 3 layers is good. Too many layers can lose detail – it all depends on how thick you applied each layer.
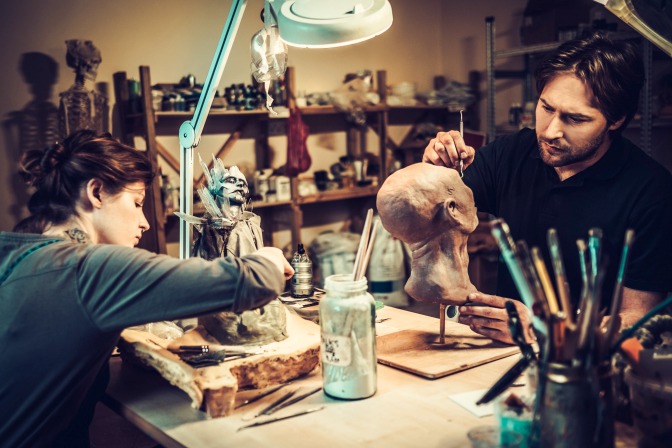
8. Keep your nails short when sculpting. You can use tools of various sizes and shapes, but nothing beats the ten that you are born with. Using your fingers for smoothing and judging the thickness of clay is important. Having long nails can interfere with the sculpt. If you are smoothing out the clay, the corner tip of your fingers is a great tool.
9. Keep your work mobile if limited workspace or children are a factor.
10. Sculpting teeth in a mouth prosthetic or half mask can be difficult and time-consuming. I recommend buying a set of realistic false teeth. Place them where you need them to make it look the way you want.
11. When your sculpt is finished, don’t forget about skin texture to add realism. An old toothbrush used in a stipple movement is great for adding pores to skin. A small toothpick is great for wrinkles and natural surface lines.

What kind of prosthetics you make and materials you use?
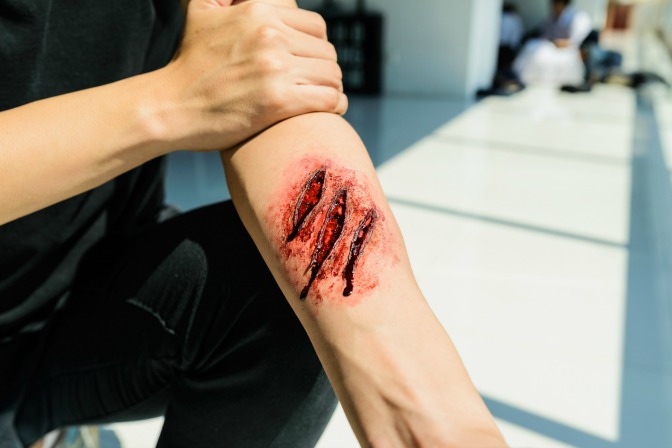
I started out with simple things like wounds as they are the smallest, easiest and best place to start. I needed them for my SFX assignments and they are so quick to make! They are also highly requested in film and TV. Here’s a list of the most important items I use to make them:- Clip board, metal palette or any lightweight, square edged, non textured surface
- Turntable
- Modelling clay, plasticine, air dry clay or earthenware
- Vaseline
- Liquid latex
- Hair Dryer (optional)
- Baby powder
- Small and large fluffy brush
- Palette knife or any fine-tipped tool

Tips and things I’ve learned
In no order of importance, this is what I have learned so far: 1. A hair dryer is great for speed drying between layers of latex, but remember to keep it on low heat so you don’t melt the clay or the latex. 2. Smoothsurfaces like clipboards, chopping boards, and plastic plates are great sculpting surfaces for sculpting multiple small pieces. You can sculpt right onto them and they are very light so you can move them. 3. Half head/full head mannequins from eBay are great for designing your prosthetic and where they will sit. It’s a generic fit for most actors and models. 4. Change your perspective! Turntables are invaluable, especially if you are making facial pieces. Prop them up so you can view your work from different angles – what may look great at one angle may look odd from another. 5. Plasticine is firm but can be microwaved for a few seconds for malleability. Earthenware, stoneware, WED 217 clay is also great for sculpting but must be kept moist while working and the leftovers stored in an air-tight container. Modelling clay is soft and great for small to medium projects like wounds, burns, noses, brows, chins. It is reusable, flexible and never dries out. 6. Vaseline makes a great release agent. After sculpting your pieces, put a thin layer over the whole thing and a little around the edge of the base then cover with latex. This makes peeling the edges off the sculpting surface and removing the clay from inside the latex easier. 7. The latex I’ve started out with is Ben Nye Liquid Latex and is strong. For bald caps 6-8 layers was plenty strong, but for smaller items 3 layers is good. Too many layers can lose detail – it all depends on how thick you applied each layer.
8. Keep your nails short when sculpting. You can use tools of various sizes and shapes, but nothing beats the ten that you are born with. Using your fingers for smoothing and judging the thickness of clay is important. Having long nails can interfere with the sculpt. If you are smoothing out the clay, the corner tip of your fingers is a great tool.
9. Keep your work mobile if limited workspace or children are a factor.
10. Sculpting teeth in a mouth prosthetic or half mask can be difficult and time-consuming. I recommend buying a set of realistic false teeth. Place them where you need them to make it look the way you want.
11. When your sculpt is finished, don’t forget about skin texture to add realism. An old toothbrush used in a stipple movement is great for adding pores to skin. A small toothpick is great for wrinkles and natural surface lines.
What you are building up to with your practice?
I co-own a film production company, we have a very small crew that usually takes on multiple roles. I took on makeup artist, costuming, set design and SFX so I can be creative. I’m going to expand my prosthetic-making skills to include masks to save application time.How are you networking with film students?
I am fortunate that my husband, Claudio, graduated from film school and has contacts there. With his film industry knowledge and experience, he knows what student film crews need and that they’re willing to hire other students who want experience in the industry. I created a poster and sent it off to the school to be placed on the bulletin board!
Which special effects makeup artists inspire you?
All my life I have been surrounded by the world of art. As a kid, I spent many hours flipping through my Mum’s art books and watching her create amazing work. Now, I cannot keep my imagination or my hands still. I have found that I am inspired by – some amazing writers who have written their characters so well that makeup artists have done brilliant jobs bringing them to life. Another place that inspired my imagination was the horror section of the local video store. The monsters and gore on these video covers fascinated me and still do (this was during the mid to late 80s and early 90’s)! YouTube has some good artists, too. I started my research with Charlie Short (PinkStylist) and Goldie Starling. Some others are Egg Head FX and Freakmo. When I joined Instagram, I found a large amount of SFX artists out there. It’s a great source of professional and emerging artists. These are the best ones around that inspire my own SFX journey: Powdah (Marc Clancy): Super realistic injury SFX. Rick Baker: Monster maker of major films. Stan Winston / StanWinstonSchool: The biggest SFX artist of all time has his own school. Some of the artists in this list teach there! Distortions Unlimited: This is where I started my research on mask making. Ed makes things look so simple and his TV show is now on YouTube. There are also tradeshow and conventions available for SFX makeup artists that I recommend visiting. Make industry contacts, find products, see displays of SFX work, and maybe even meet a celebrity!- Monsterpalooza : Pasadena USA
- MaskFest : Indianapolis USA
- IMATS : International
- UMAe : United Kingdom

Great job on this! Hoping to read a part 3 from you.