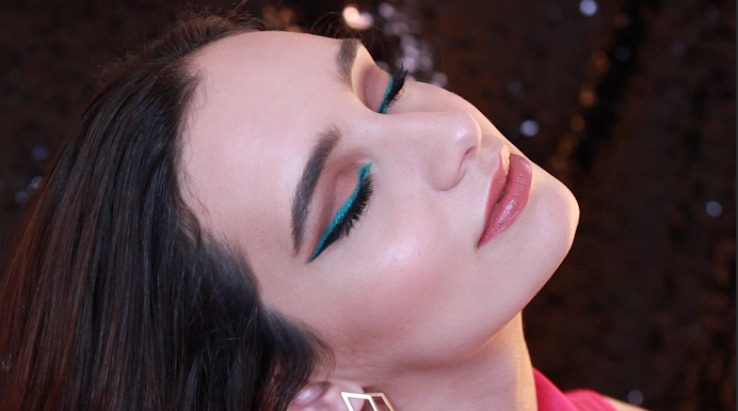
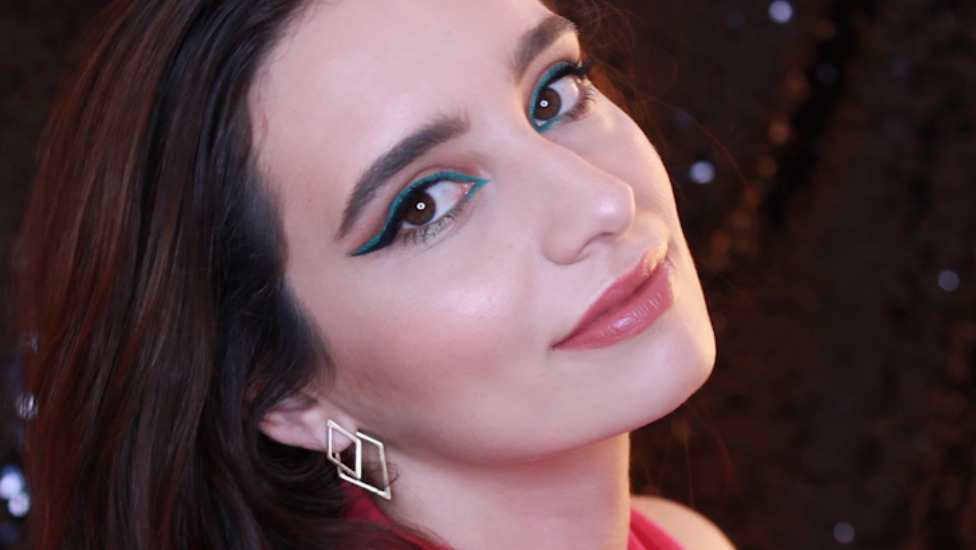
I thought I would share a quick tutorial on how to create a double winged eyeliner using the colours black and green. This is a really cool look to wear and it’s something different to wear for those summer night parties 🙂
This double winged eyeliner look is one I created for the QC Makeup Academy course assignments. One of the techniques I learnt through the course was how to take your time blending and practise makes perfect! QC Makeup Academy also boosted my confidence with experimenting with bold colours and different styles to create unique looks.
Step 1
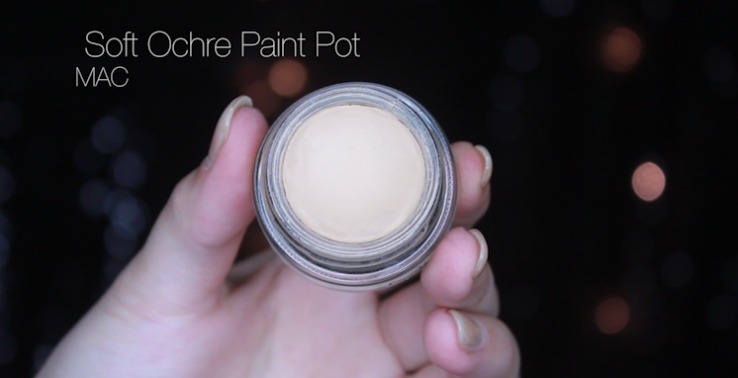
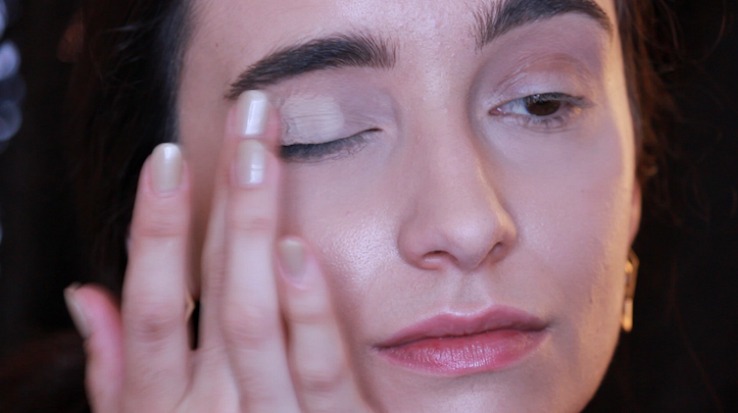
First up, I’ve primed my eye lids with MAC’s Soft Ochre Paint pot. Using a primer before applying any eyeshadows is really important particularly if you have discolouration around your eyes and it also makes blending eyeshadows a breeze. Throughout my studies at QC Makeup Academy, I’ve learnt how important it is to prime the skin before any makeup application. Moisturising and priming is important to keep the skin hydrated, reduces pores/fine lines and for a smooth and easy makeup application.
Step 2
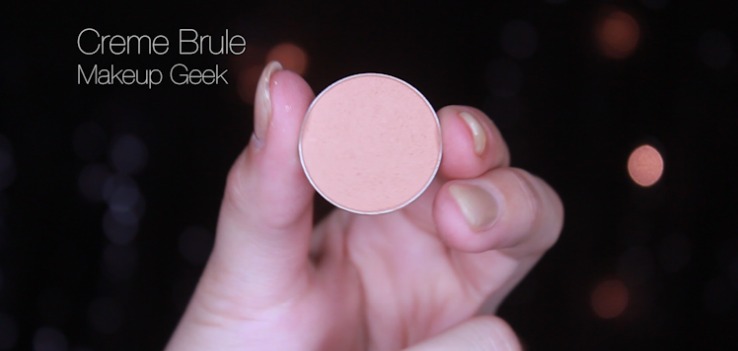
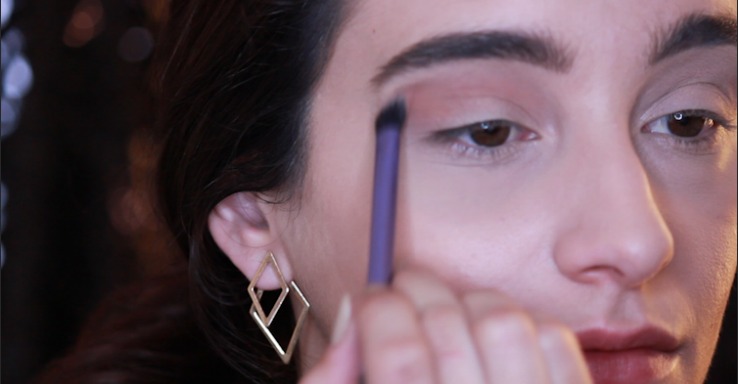
Next up I’ve used the shadow Creme Brule from the Makeup Geek eyeshadow collection. This light dusty pink shadow goes straight into the crease as a transitional shade. QC Makeup Academy taught me that a transitional shade should be close to your natural skin tone or slightly darker and it’s easiest to apply with a large fluffy blending brush using windscreen wiper motions across the crease area.
Step 3
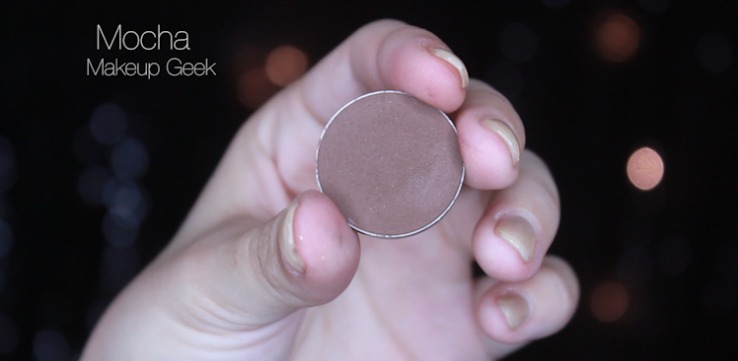
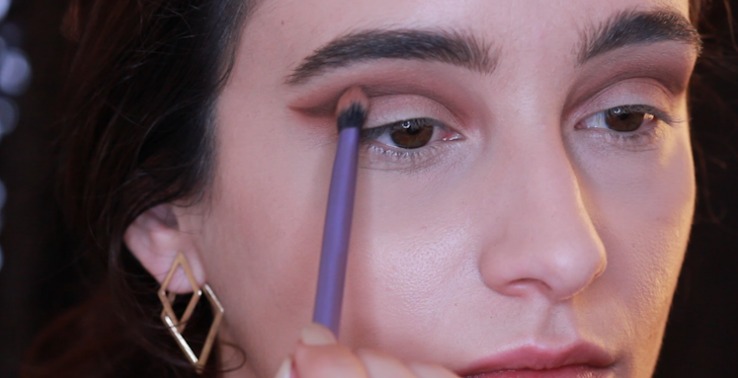
To create the cut crease, I’ve used an angled eyeliner brush and picked up a small amount of the shade Mocha. Take your time and use a light hand to avoid any mistakes. To create a bold and dramatic look, I’ve taken the cut crease slightly above my natural crease line. Then I’ve blended the centre part to diffuse into the rest of the eyeshadows.
Step 4
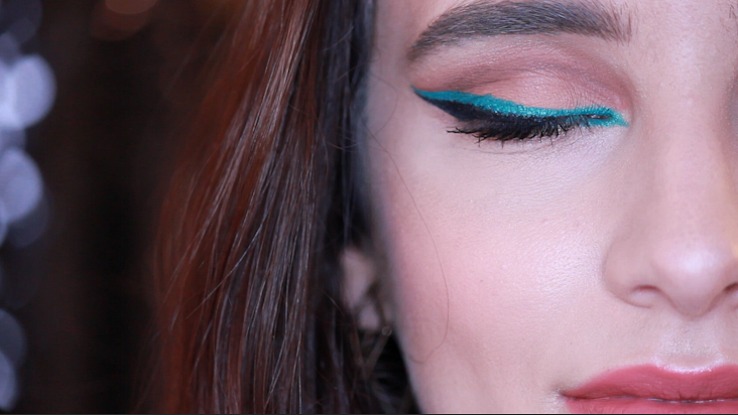
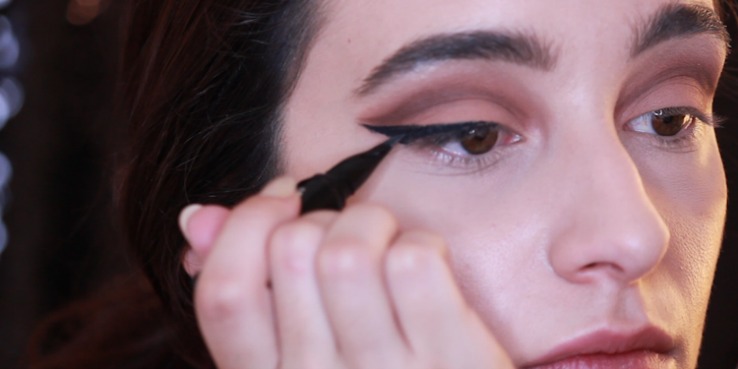
You can use any eyeliner you have at home to create your winged eyeliner. I used the They’re Real eyeliner by Benefit because it has a really intense black and creamy gel-like consistency to get right into the lash line, and it’s very long-wearing. You can use any eyeliner you have at home to create your winged eyeliner.
Step 5
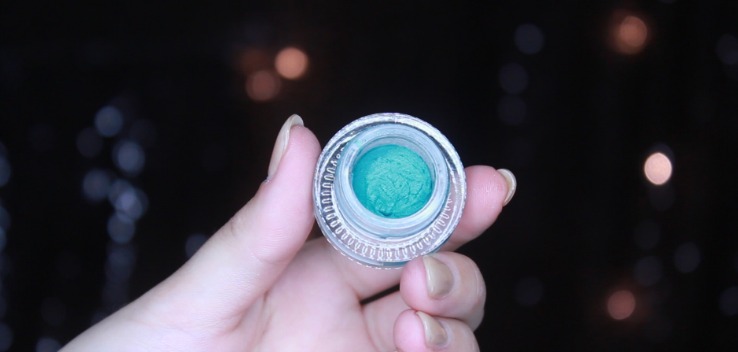
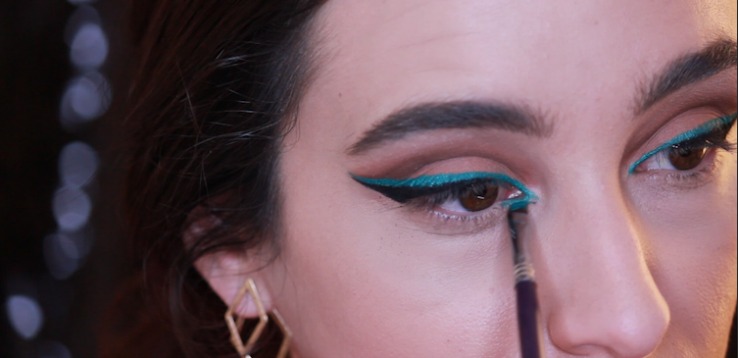
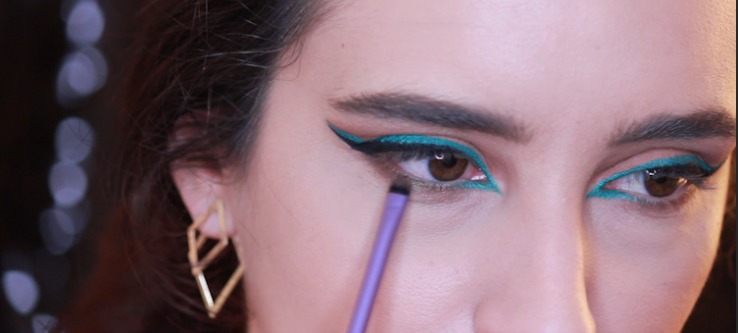
To create the double wing, I’ve used NYX’s green gel eyeliner on a small angled brush right above the black wing liner. For a more bold look, I took the green liner right into the inner corner.
Step 6
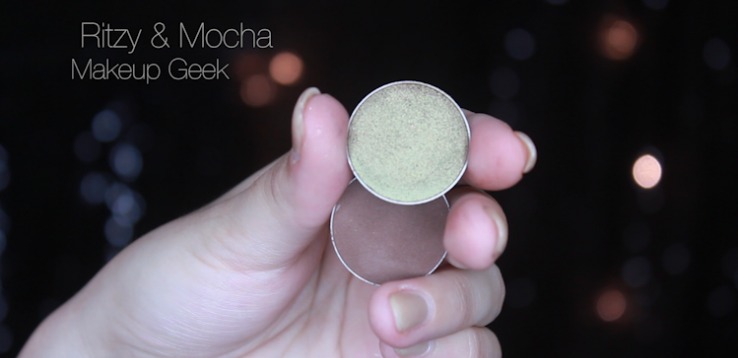
Then take a combination of Ritzy and Mocha on the lower lash line to create a smokey look. I used Mocha on the outer edge to give intensity to the look and I used Ritzy on the centre part for a pop of colour to match the green liner.
Step 7
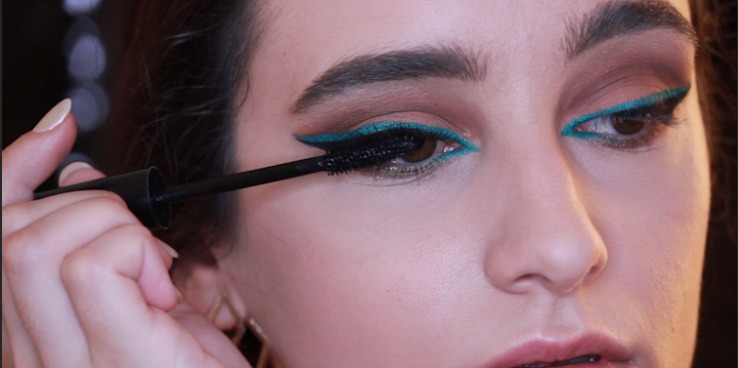
Add your favourite mascara on your top and lower lashes, and if you like, add some falsies!
Step 8/9
To complete the look, I used Benefit’s blush in Dandelion and the Watt’s Up highlighter on the tops of my cheek bones.
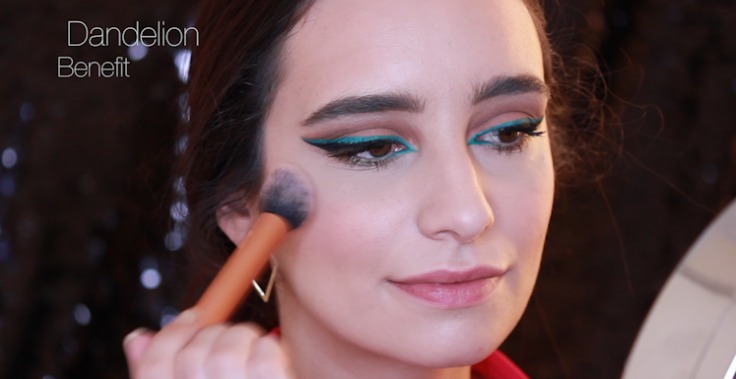
This is the finished look! I hope you enjoyed this mini tutorial!
