

With over two decades in the beauty business under my belt, I have stumbled upon hundreds of little secrets. Some of them make my job easier, some correct mistakes, and some are just plain fun!
If you have ever put on too much blush or gone a bit heavy on your brow powder, eyeliner, or eye shadow, you know the woes of having to wipe it off and start the makeup fresh. The good news is that you don’t have to take off all the makeup anymore! There is an easier alternative that can save the day. Translucent powder and cotton swabs are two must-have products. If you go a bit heavy on the eyeliner or the brow color, a touch of translucent on the swab will blend it down until it is the perfect depth. For bigger areas like the cheek or eyelid, use the power on a brush or your fingertip.
Most people tend to avoid mascara on the lower lashes out of fear of the raccoon eye! If you don’t know how to apply it right, that’s probably for the best. If you want all the magic of a defined lower lash line without any of the negatives, apply the mascara for color and depth, not for length. Just set the wand tight to the lash line and wiggle it back and forth. You will get the perfect lay of color. Black is always beautiful, but if it seems too heavy for you try brown instead.
This may seem like a huge no-no, but if you want the perfect smoky eye with minimal effort, sleep in your eyeliner. The liner will smudge so perfectly, you would not be able to duplicate the look if you tried. If you want to give this a go, I have one tip…swap out your white pillowcase!
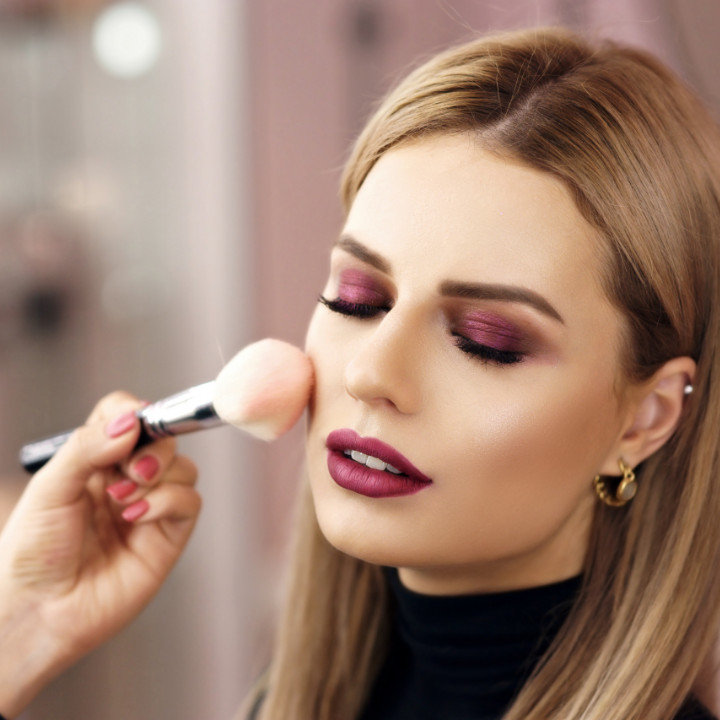
If you watch award shows, you will notice the dewy glow that most celebrities have on their cheeks as they walk the red carpet. There are a lot of ways to achieve this, but my favorite, and perhaps the easiest, is to apply a skin-brightening primer over the blush. True highlighters can sometimes be too bold but a brightening primer will take a beautiful cheek to AMAZING. Just tap it over the blush with a foundation brush.
Lining the inner rim of the upper lash line with a blue pencil will make the whites of the eyes look super bright! This trick is amazing because you can magnify the intensity of the eyes without anyone knowing you used a blue pencil. An added bonus is that it adds immediate depth to the lash line giving the appearance of fuller, thicker lashes.
Those are a few of my favorite little makeup tricks. I would love to hear a few of yours! Leave a comment letting me know what makeup tricks you’ve discovered along the way.

So as most of you probably know, QC Makeup Academy is running an awesome contest. Check the details out here! You need to create a makeup look using glitter. I’ve created another look to inspire you to get creative with glitter. If you’d like to check out a previous glitter-inspired post by me, click here. This time around I used the beautiful model Marie. I also decided to incorporate more than just the eye in my step-by-step instructions so I can show you how we achieved her complexion as well. For a glitter look or any type of bolder eye look, I find it’s easier to start with the eyes. That way you can just wipe clean any fallout from the glitter or dark shadows with a makeup wipe.
Prime the face and apply medium to full coverage foundation. In Marie’s case, I wanted to do some color correction as there is a bit of redness in the skin. I used a color-correcting primer and I used a slightly yellow foundation to counteract the pinkness in her skin.
Next up, I applied an under-eye concealer to brighten up the look. I chose to keep the under-eye clean of any shadow or liner, so I brought the concealer right up along the lash line. This will give us a very clean look. Then I contoured her face using a liquid foundation in a dark color. I applied this contour along her hairline, under her cheekbone, and under her jaw line.
Then, I softened the liquid contour using a fluffy brush. With that same brush (as shown in the first picture below), I applied a matte bronzer to set the liquid contour, blending into the center of the face to soften any edges. Next, I applied a blush along her jawbone right on top of the contour.
Lastly, I set the whole look using a translucent powder and applied a powder highlight along the tops of her cheekbones (right above the blush), and down the center of her nose. Pop on some lipstick and away you go! I chose to stick with a super neutral lip as the eyes are the focus of this look.
We all know the feeling—you’re off work in 10 minutes but have a dinner date in 30. With the time it takes to commute and change, you need a streamlined day-to-night makeup routine. And that’s where we come in!
“Metallics are huge right now. I like to wear a sheer brown eyeshadow during the day, and before I head out of the office it’s as easy as smudging the whole look out with a layer of bronze. I finish everything off with lengthening black mascara, a swipe of sheer pink lip gloss, and a tap of powder on any oily areas.”
“Urban Decay De-Slick Setting Spray. I have textbook combination skin. In the morning I give my face one or two sprays of this, and my face stays matte until late into the afternoon. I’m never without it!”
View this post on Instagram
“I keep about three lipsticks in my purse at all times (okay, probably more like six!). When I don’t have the time to change my look for the evening, I just pick my favorite shade and I’m good to go! It’s amazing how much drama a deeply saturated lip can add to an otherwise clean face.”
“Right now I have the Rimmel’s Kate Moss lipstick in shade 01, NARS Velvet Matte Lip Pencil in Never Say Never, and Wet n’ Wild’s Mega Shield Lip Color in Ring Around the Rosy.”
“I wear simple winged eyeliner almost every day. If I’m going out after work, especially on a Friday night, I’ll take a minute to add some drama by smudging the eyeliner out a bit. I really like Clinique’s Quickliner for this. Then it’s all about the falsies. They can change my entire look in an instant. I like keeping the focus on the eyes, but I’ll usually swipe on some light lip gloss to finish it off. This dramatic look has never failed me!”
“There’s actually two I absolutely can’t live without! I adore STILA Stay All Day Matte Liquid Lipstick, and can’t get enough of Benefit’s They’re Real mascara.”
Interested in learning more about our online makeup academy?

One of the most frequent beauty dilemmas a makeup artist encounters is perfect lipstick application on dry, irritated, or chapped lips. Lipstick can enhance the face by adding color and freshness, but if it grabs on to dry or chapped areas it will do exactly the opposite.
When caught in this pinch, many people grab a chap stick or a waxy lip primer. Yes, this will allow you to put the product on, but it will not last long or give your client any knowledge as to how to prevent the problem in the future. As a professional, it is not only our job to resolve the issue (to the best of our ability), but it is also our responsibility to educate our clients so they can prevent it in the future.
In the old days, people would grab a toothbrush and rub the dead skin away. This is acceptable as an at-home do-it-yourself, but as a professional, there are much better options. The Fabulips collection by Bliss will not only make the lips super smooth and supple, but it will also prevent any future dryness or irritation. The foaming lip cleanser is the first step on the road to flawless. It is a bubbly cleanser that lifts away debris without stripping or drying. Work this over your client’s lips and any of the residue that causes irritation will be wiped away. Step two, the Sugar Lip Scrub, is a delicious combination of finely ground sugar, almond shells, walnut shells, and hydrating oils. A light buff of this soothing exfoliator will turn your client’s chapped lips into a soft, perfectly smooth pout. Step three is a peptide-packed Instant Lip Plumper that will immediately rejuvenate the lips with a lush, hydrated plump. To make sure the word chapped is never used to describe your lips follow the plumper with the Softening Lip Balm. Shea butter, jojoba, and grape seed oil protect and penetrate, leaving the mouth soft, smooth, and kissable.


