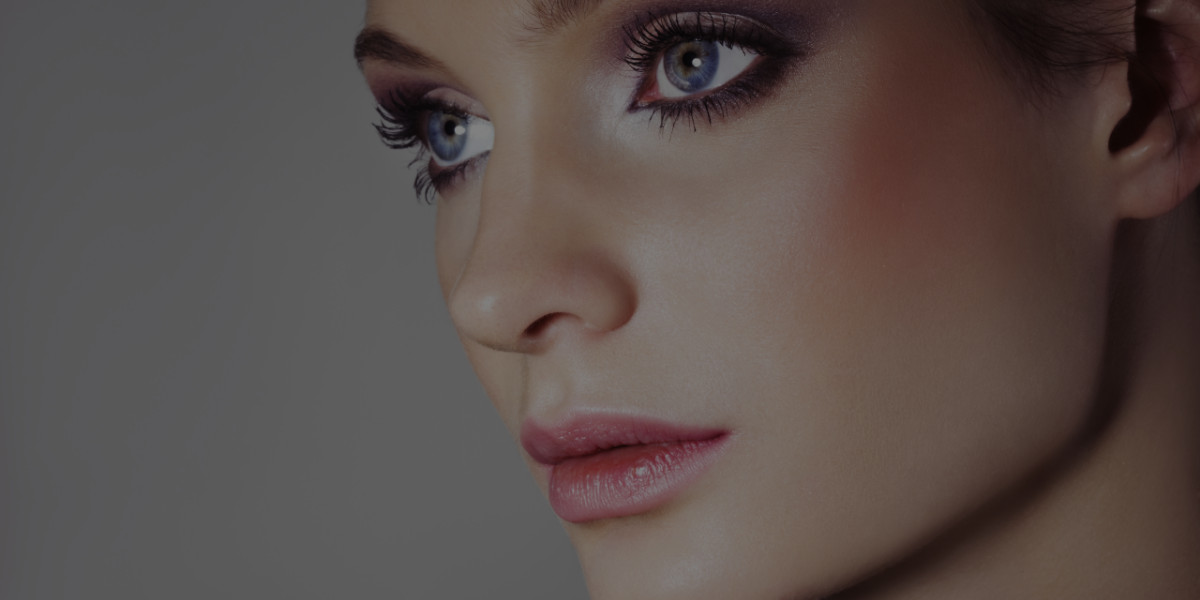
Contouring and highlighting is every professional makeup artist’s secret weapon. When done right, you can drastically change or enhance the appearance of your client’s facial features. Want more prominent cheek bones? Contour! Want a razor sharp jaw line? Contour!
The key to a successful contour is finding the right spots on your face to apply either the contouring or highlighting product. This is will be different for everyone, because everyone is unique in their own way! But here’s a general guide to contouring based on your face shape.


Share this Image On Your Site
Tips:
- Contour should be applied to where shadows would naturally fall on a person’s face.
- Highlight should be applied to where light would naturally hit a person’s face.
- Blend, blend, blend with your makeup brush set!
- Never contour with a bronzer. Instead, opt for more brown and grey tones.
- Play around with your contour and find out what works for your unique face and what doesn’t.
- Remember to blend!
- The oval face shape is considered the most “ideal” and requires less contouring. Keep this in mind if you’re working with an oval face shape!
- Practice a few times before you’re ready to show your contouring and highlighting to the world.
- Did we say blend yet?
