As a professional makeup artist, it’s important to keep expanding your skill-set. The more knowledge you have about makeup, the better (and more inclusive) your services will be!
The best way to broaden your training is with makeup classes. For example, QC Makeup Academy has a program entirely devoted to teaching you about cosmetic and beauty practices from all around the world! As part of this Global Beauty Workshop, you’ll learn all about Henna.
In Part 1 of our look into the art of Henna, we broke down what it is, where it comes from, and its symbolic/historical roots. Importantly, we also took a look at some of the proper (and improper) habits to adopt when incorporating Henna into your makeup business.
Let’s expand on this, and check out a few more ways to properly do Henna – as well as some ‘sins’ you need to avoid!
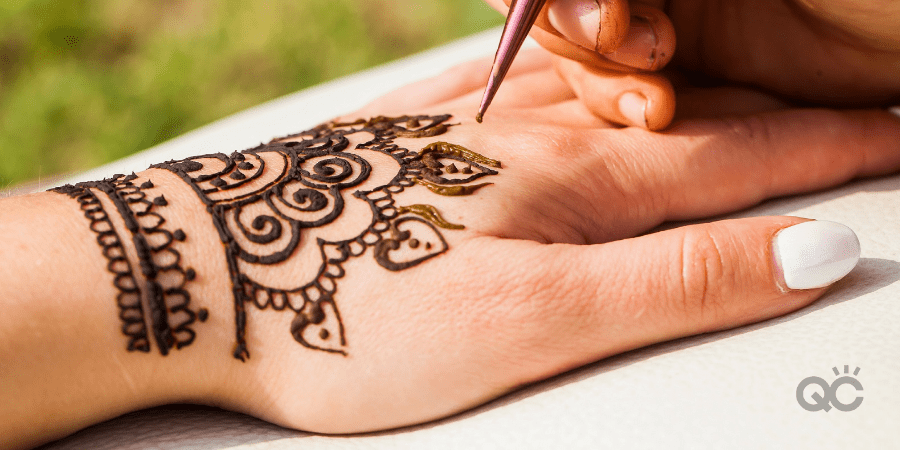
Unfortunately, it’s very easy to cut corners and purchase the wrong Henna products. The less organic the ingredients are, the worse the quality of the final product will be.
In recent years, it’s become a bit of trend – particularly in Western culture – to buy pre-mixed Henna cones. While this is undoubtedly a bit more convenient, we recommend against doing this. If you buy a pre-made concoction, you’ll have no way of knowing exactly what’s gone into the mixture. Furthermore, you won’t be able to control the ratios, the consistency, or create the ideal cone for application.
Instead, your best bet is to purchase fresh Henna powder, and mix it yourself. Typically, this powder will be mixed with water and oils (such as eucalyptus oil, henna oil, and/or black clove oil). There are also plenty of ways for you to create the Henna cone yourself. This YouTube video, for example, breaks the steps down in an easy-to-follow tutorial.
When researching into where to purchase your Henna powder, make sure to be thorough. There are tons of sellers out there who claim to offer high-quality powder, when in reality, it’s anything but! What you want to look for is a Henna powder that’s marketed as “body art quality”.
This specific type of powder is ground into very fine particles, so that when mixed with water and oils, it turns into a smooth mixture that creates a beautiful finish – without losing its texture and clogging up the opening of your Henna cone.
Pro Tip: If your makeup classes are teaching you how to do Henna tattoos (that is, Henna designs on the skin), make sure to stay away from ‘Neutral Henna’. While good for conditioning hair, it does nothing on the skin and would be a waste of your money!
Don’t: Use Henna Containing Chemical Additives
Much like with other beauty products, when Henna ingredients are all-natural, they’re far less likely to cause any damage to your client’s skin. On the contrary, Henna powder containing harmful chemicals can be a concern.
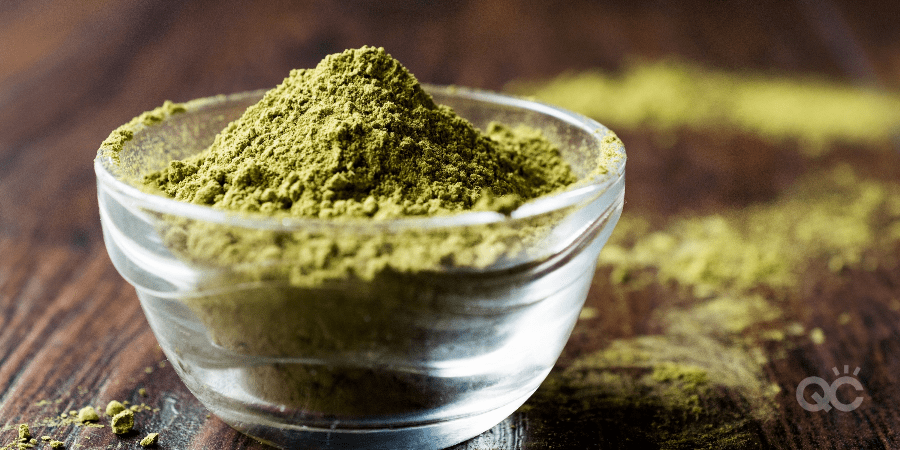
It’s believed that the greenness of your Henna powder indicates how pure it truly is. If the powder is a strong green hue, it’s supposed to be of higher quality.
The problem is, many scammers have caught onto this fact, and have found a way to create fake (but convincing) alternatives. For instance, they may lace their Henna powder with green dyes in order to replicate the authentic, bright green color.
So, how do you know who to trust when buying your Henna powder?
Do your research! Never purchase any Henna powder whose ingredients aren’t openly listed for you to see. Only buy pure Henna powder that doesn’t contain chemical additives. And when looking into potential sellers, do as thorough of a background check on them as you can!
Read reviews, scour their website, search for them on social media. There are plenty of online chat groups and forums you can look into, where other Henna artists may recommend trusted suppliers.
The bottom line is: never purchase your materials from a supplier unless you’re confident in their product. Using anything less than pure Henna powder can potentially lead to issues down the road with clients, which can seriously damage your professional reputation.
Do: Avoid Black Henna
In order to change Henna from its natural greenness to a dark black color, there are many suppliers who opt to add PPD (para-phenylendiamine) to their powder. Unfortunately, this is a rather powerful chemical sensitizer, and can be seriously dangerous to some people!
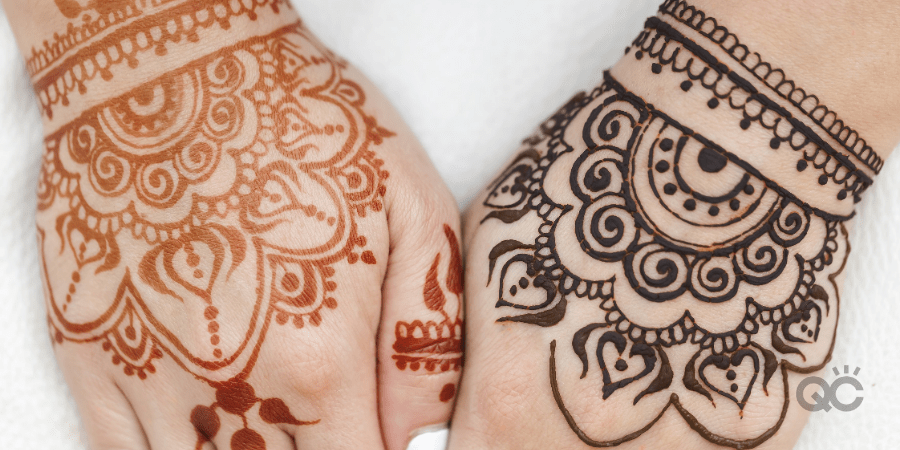
Some possible side effects of prolonged exposure of PPD on the skin include:
- Allergic reactions
- Redness/swelling
- General skin irritation
- Burns
- Blisters
- Permanent scarring
Needless to say, you don’t want to risk any of your clients experiencing any of these unwanted reactions! You’re better off avoiding PPD-infused Henna powder altogether. Yes, you may encounter some clients who specifically request black Henna.
However, for the sake of her safety, and the overall safety of your business, we recommend explaining the potential health risks to her, and declining such a service. Worst case scenario, if she refuses to budge, you can always recommend she visit an airbrush tattoo artist instead.
While it may cost you an appointment, it will ensure your client remains safe. Ultimately, this matters more.
Don’t: Prepare at the Last Minute
Your global beauty makeup classes will go into great depth about how to properly mix and create your Henna product. But one thing that’s especially important to stress is that you give yourself enough time to prepare your products before each appointment.
For starters, it may take some trial and error for you to learn what the perfect consistency is for your mixture. On top of that, you need to allow your Henna mixture to sit for at LEAST 6 hours before you can apply it to your client’s skin.
Anything less, and it may not stain the skin properly, have the desired color, or last as long before fading.
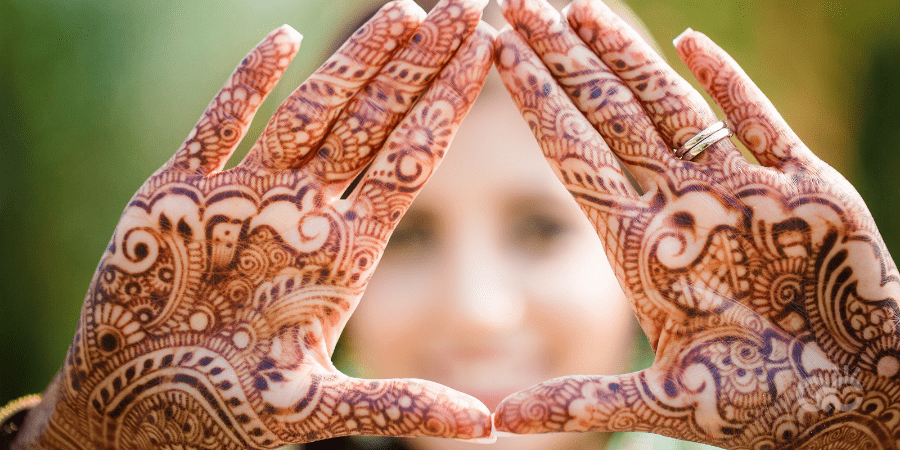
To ensure your client gets the best results, let your Henna mixture rest for as long as possible. You can even prepare the mixture for your appointment the day before, and let it sit overnight.
Pro Tip: Want to REALLY be organized? Prepare a large batch of your Henna mixture, and store it in your freezer! It can remain in there for up to six months, without ruining any quality.
Do: A Patch Test
When it comes to Henna tattoos, your makeup classes will ingrain in your head the importance of doing a patch test first. This will help determine whether or not your client’s skin will react well with your Henna mixture.
Could you imagine if you skipped this step, started applying the Henna all over your client’s hand, and she suddenly broke out into a severe allergic reaction? Such negligence could spell the end of your career!
Henna artists find that the inner part of your client’s wrist is the optimal spot to do a patch test. Simply apply a bit of your Henna mixture, and then advise her to keep an eye on it over the days to follow. Specifically, she needs to note if she experiences any irritation, swelling, or redness.
This is also a perfect opportunity for her to get a real feel for what she can expect from a full Henna application! Let her know what to expect in terms of the color changes the Henna will undergo over the next few days. She may find that the final result is exactly what she was expecting! Alternately, she may discover that it’s different than she originally thought it’d be.
All of this is why a patch test is so crucial! Ideally, you’ll want to perform it during the initial consultation. It’s best for you and your client to know as early on as possible whether you can provide the service she’s looking for. Neither of you want any unwanted surprises on the day of the appointment!
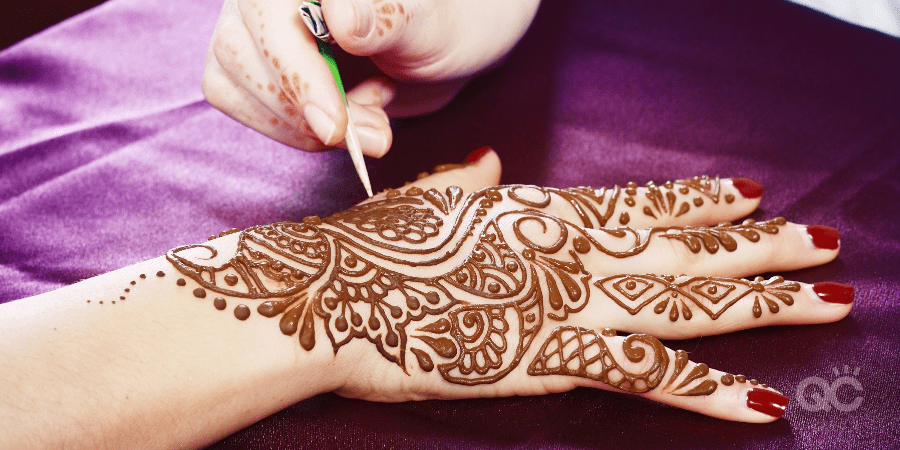
Interested in discovering other ways that global beauty makeup classes will help strengthen your career? Check out this article for 3 more awesome reasons!
