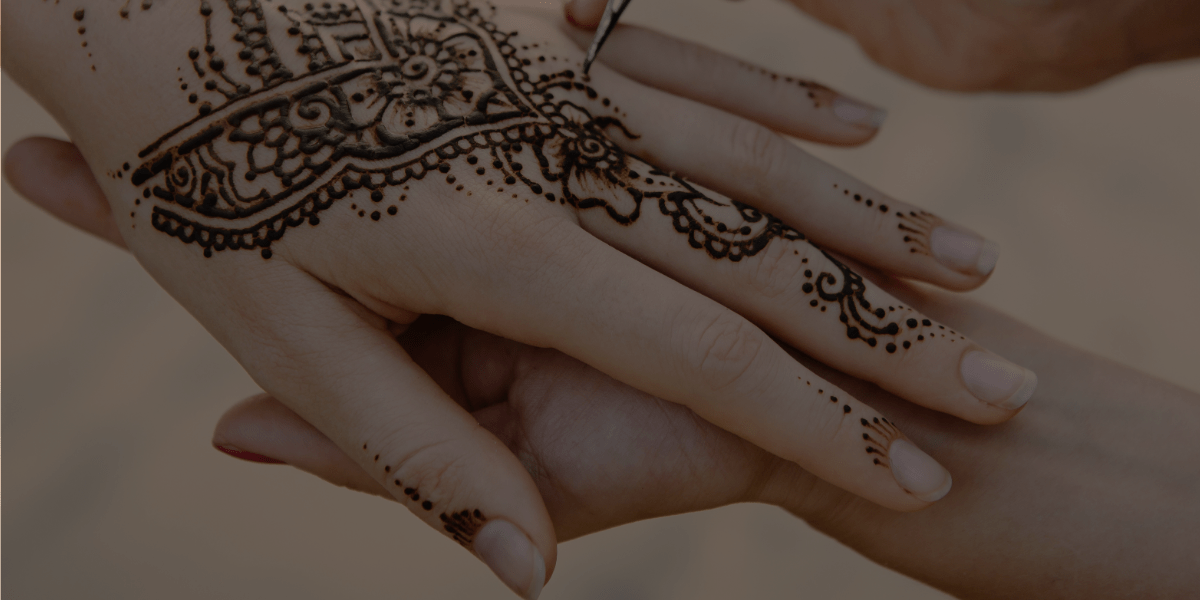
Online makeup classes can teach you a LOT more than just your standard makeup practices! As part of QC’s Global Beauty makeup workshop, you’ll explore other cultures and international makeup techniques to expand your skill set. One such practice you’ll become an expert at is the art of Henna.
Here, we’ll take a brief look at what Henna is, and where it comes from. Importantly, you’ll learn a handful of good habits you should adopt when doing Henna, as well as bad habits you need to avoid.
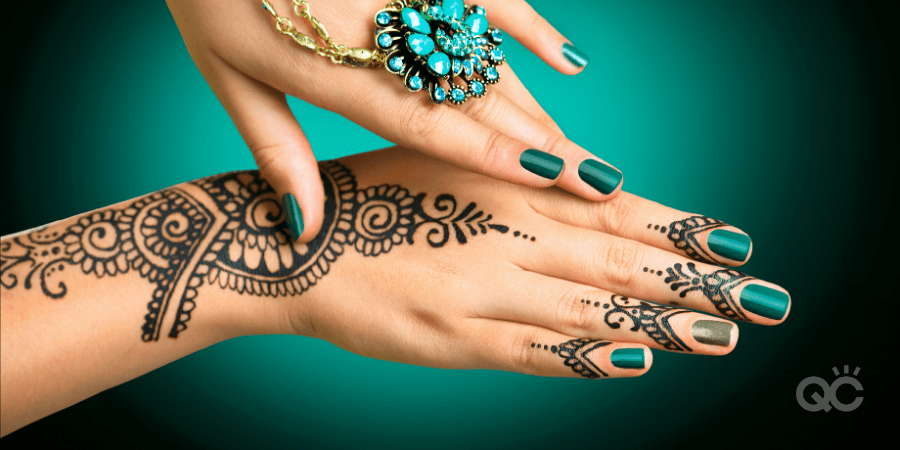
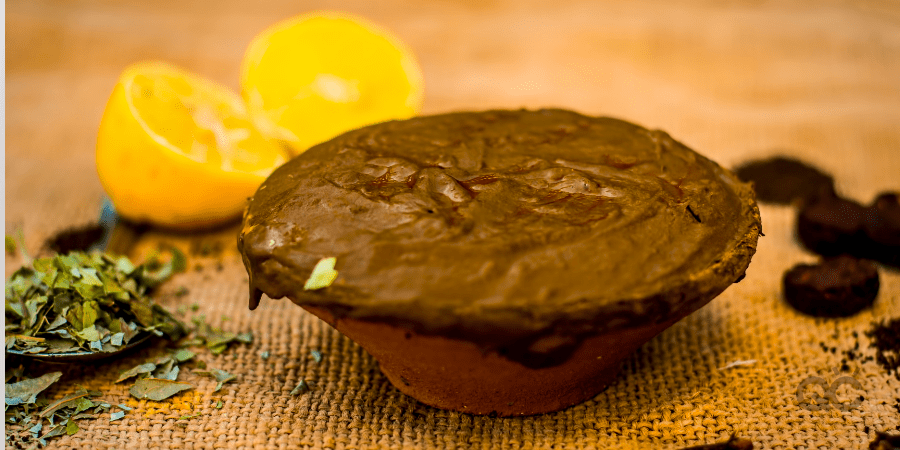
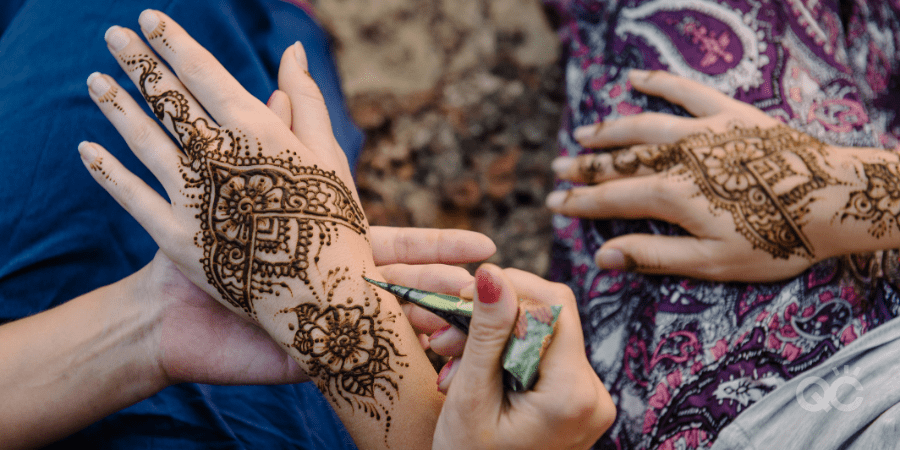
Henna ‘tattoos’ are made from the dye of the natural henna plant, applied in intricate designs on the skin using a small piping bag and cone. It’s typically made by mixing pure henna powder with a liquid component, such as tea, lemon juice, or water.
Once applied, but before the Henna paste has dried, a mixture of lemon and sugar will also need to be added to it. This will keep it from flaking off too soon. After a few hours, the color settles into the top layers of your skin, leaving a “tattoo” once the paste is removed. The result will usually be brown in color at the beginning, before changing to red pigment, which will eventually fade.
While Henna tattoos can be applied anywhere on the skin, it’s most common seen on a person’s arms, hands, and/or fingers.
Where does it come from?
There are a many different cultural ties to the art of Henna tattoos. Originally, historians claim that it first became popular among those living in warmer climates, thanks to its natural cooling properties on the skin. Due to the beautiful stain it would leave behind, it eventually transformed from a cooling aid and topical treatment, to a beauty practice.
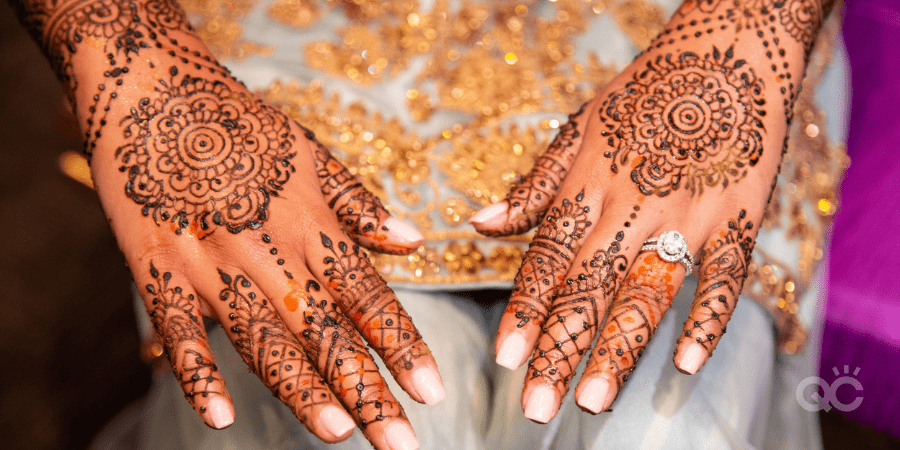
Some examples of where Henna’s historical and cultural roots can be found are:
- The Pharaohs of ancient Egypt
- Muslim and Hindu weddings
- Festivals such as the Diwali, Vat Purnima, Karva Chauth, and Teej monsoon celebrations
Henna tattoos rose in popular throughout North America and Western Europe in the 1990s. Today, they are a global and very common beauty practice. In addition to religious and cultural purposes, Henna is also commonly used today for aesthetic expression.
Henna practices: what to do versus what not to do
As a professional makeup artist, if you wish to incorporate Henna into your business services, there are certain things you’ll need to do in order to be a good Henna tattoo artist. Similarly, there are a number of Henna sins you’ll want to make sure you never commit. Let’s take a deeper look at those…
DO: Thorough research
Just like with the art of makeup, you can’t expect to be good at what you do if you don’t take the time to properly learn about it. But we’re willing to bet you love to learn! So research the practice of Henna; read as much as you can, and absorb everything possible.
Look deeper into its different cultural backgrounds and significance. Find out about its different ingredients, and the suppliers involved. Don’t just focus solely on the pros of Henna tattoos – discover any potential cons to the practice as well.
Approach it from a business standpoint, too. What would be required in order to add it to your existing makeup services? What’s the market like in your area for Henna beauty services? What sort of a wage increase could you realistically hope to see by adding this extra service to your business?
While there will ALWAYS be more for you to learn, your goal should always be to strive at becoming an expert in the field. So research and learn everything you can!
DON’T: Neglect proper schooling
A good makeup school will offer online makeup classes that cover Henna, such as in QC’s Global Beauty workshop. Yes, while many Henna artists don’t obtain any actual education, what’s the honest harm in doing so?
You know you’ll be taught properly, by a trained professional who knows what they’re doing. You’ll receive so many incredible resource materials that will help you not only learn Henna inside and out, but start practicing it in a real-world setting.
Plus, actual education from an accredited makeup school and its online makeup classes will equip you with a physical certificate of completion. While certification isn’t required to practice Henna, having this certificate is guaranteed to look better on your resume and seriously impress clients.
On top of expanding your skill set, it signifies your drive, dedication, and hard work. If you’re looking to outshine your competition, this is the sort of thing that WILL do the trick!
DO: Learn (and then practice) various Henna designs
There are many symbolic designs in the world of Henna artistry; many tied to specific cultures. If you wish to be able to provide this sort of Henna art to clients of different cultures, it could prove worthwhile to do your homework and begin learning the different symbols of different geographical locations.
In North America, however, Henna is more abstract and less tied to symbolic meaning. Geometric shapes – such as dots, lines, triangles, etc. – are most commonly used in repetition to create the designs.
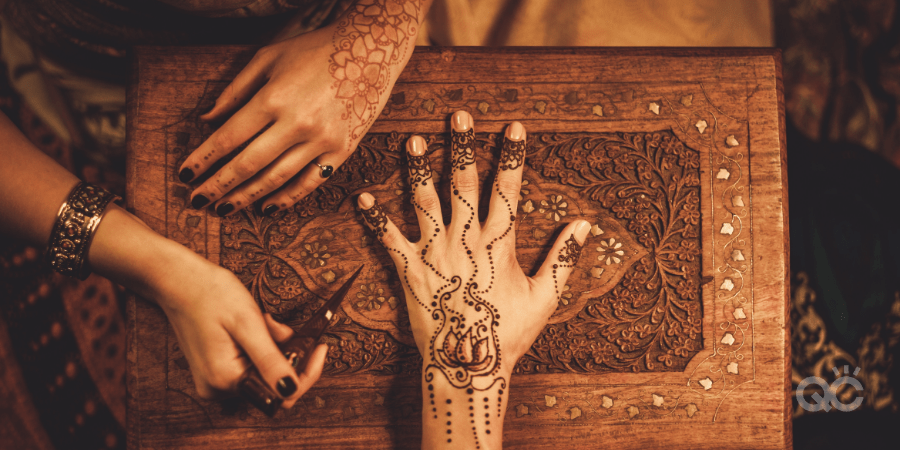
FUN FACT: most Henna is free-hand, meaning that there’s no stencilling involved before the application. You’ll need to become knowledgeable and confident do it on the spot. So it’s critical that you first take the time to PRACTICE designs on your own, before ever attempting them on a client. Start by drawing them out on paper.
If it makes things easier, keep a sketchbook entirely devoted to your different Henna practice designs. The more you work at them, the better and more natural you’ll become.
DON’T: Skip practicing with a Henna cone
Drawing your designs on paper alone isn’t enough practice to make you ready to apply actual Henna on a client. This is because using the Henna piping bag and cone is an entirely different process, requiring a deeper level of skill.
Once you’ve become super comfortable with drawing your Henna designs on paper, maybe you can start by tracing over these designs with Henna. Then you can start attempting to free-hand designs with the Henna (but still on paper). After more practice, you can graduate to the next step by finding friends, family, and parts of your own body to work on.
By breaking up the learning process into these steps, it’ll make for a smoother transition from paper to a paying human canvas.
Think the list ends there? Definitely not! There are plenty more useful do’s and don’ts to consider when it comes to which Henna ingredients you use, how to best apply it, and the sort of aftercare practices you need to ensure you take.
Want to learn all about this? Then stay tuned for Part 2 of this Henna crash course, and in the meantime, keep on practicing!
